Microcement bathroom in the Netherlands (2026): costs per m², pros, cons and what to check first
A microcement bathroom gives you one seamless surface across walls, floor and shower: no grout lines, no visible tile grid, and often no demolition, because it can go straight over your existing tiles. It is also one of the most misunderstood finishes on the Dutch market. Webshops quote €30 per m², installers quote €150, and international guides use UK or US prices that have nothing to do with a renovation in Amsterdam or Utrecht. This guide gives you real 2026 prices from our own Dutch quotes, the honest downsides, a straight comparison with tiles, and the practical points expats ask us about most: VvE rules, rented homes and wooden floors.
What is microcement, exactly?
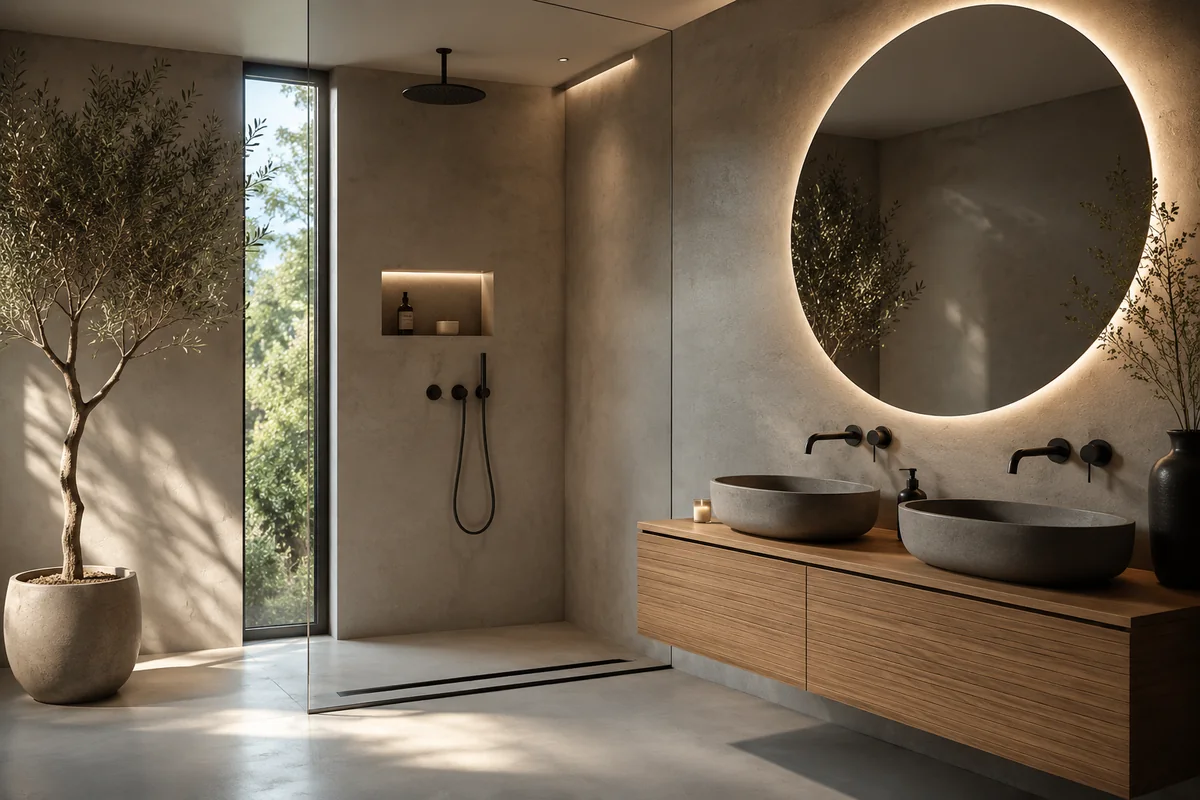
Microcement is a cement-based coating reinforced with resin and applied in very thin layers: the total build-up in a bathroom is 2 to 4 mm. A typical system consists of a primer, two base coats with a reinforcing mesh, two coloured finishing coats and a two-component sealer on top. That sealer is what makes the surface waterproof and suitable for a walk-in shower. The resin gives the material a little flexibility and lets it bond to almost any stable substrate, including the glaze of an old tile once it has been sanded and primed.
In Dutch you will see it sold as microcement, microbeton or under brand names. It is often confused with beton ciré, a related but more artisanal, slightly thicker finish with more visible movement in the surface, and with a poured polyurethane floor (gietvloer), which only works on floors. The differences matter for price and for where you can use it, so we compare all of them further down.
Where microcement works in a bathroom: walls (fully, or only the shower zone), floors including underfloor heating, walk-in showers with the slope built into the base coat, bath panels and vanity tops. Our Dutch-language service page microcement badkamer shows the colours and finishes we apply.
What does a microcement bathroom cost in the Netherlands?
The prices below are all-in guide prices for October 2026, based on our own quotes and current rates of Dutch microcement applicators. They include preparation, primer, mesh, two base coats, two finishing coats, double sealer, labour and VAT. You always receive one fixed price on paper after an inspection.
| Application | New substrate (plaster / screed) | Over existing tiles |
|---|---|---|
| Walls, dry zone (above the basin, behind the bath) | €90 – €130 per m² | €105 – €150 per m² |
| Walls, shower zone (waterproofing tape, extra sealer) | €110 – €150 per m² | €125 – €180 per m² |
| Floor (slip-resistant sealer R10) | €110 – €150 per m² | €145 – €200 per m² |
| Shower floor without tray (slope, drain, R11) | €150 – €200 per m² | €175 – €230 per m² |
| Extra for wide grout lines, relief or mosaic tiles | n/a | + €10 – €20 per m² |
| Bath panel or vanity top | €350 – €750 per piece | |
Why is the price per m² so much higher than the €30 to €60 you see in Dutch webshops? Those prices are for materials only, on large dry surfaces. A bathroom is the opposite: small surfaces, lots of corners, a shower drain, taps and a waterproof sealer. Six to eight working passes with drying time in between stay the same whether your shower wall is 3 m² or 6 m², which is also why small jobs have a minimum rate.
What does a complete project cost?
| Project | Size | All-in guide price | Duration |
|---|---|---|---|
| Toilet: walls up to 1.20 m + floor, over tiles | approx. 5 m² | €800 – €1,300 (minimum rate) | 3 days |
| Shower zone complete: walls + floor + slope | 3 – 5 m² | €900 – €1,700 | 3 – 4 days |
| Complete small bathroom, walls + floor | 4 – 6 m² floor | €3,500 – €6,500 | 4 – 6 days |
| Complete 6 m² bathroom over existing tiles | 6 m² floor + 20 m² wall | €3,700 – €5,800 | 4 – 5 days |
| Complete 8 m² bathroom over existing tiles | 8 m² floor + 24 m² wall | €4,500 – €7,000 | 5 – 6 days |
These amounts cover the finish only. New sanitary ware, a different layout or new plumbing come on top; for a full budget including installation, see our bathroom renovation cost guide for the Netherlands, or the more detailed Dutch price tables per size and component on badkamer renovatie kosten.
VAT tip. Applying microcement counts as plastering work. For homes older than two years, the reduced 9% VAT rate applies to the labour part and 21% to materials, according to the Dutch Tax Administration (Belastingdienst). Note that this reduced rate does not apply to tiling, plumbing or installing sanitary ware, so check how your quote splits it.
Microcement over existing tiles: what it saves
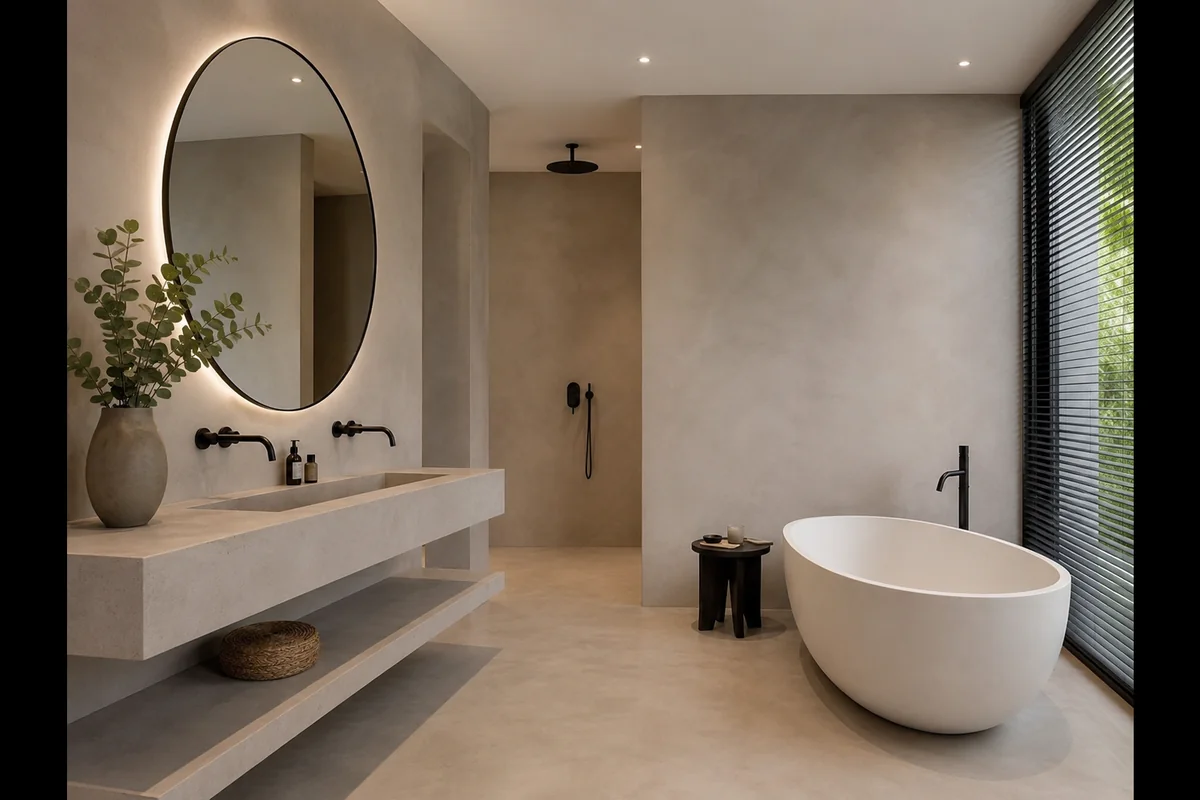
This is the main reason most of our clients choose microcement. If your tiles are technically sound but simply dated, you can skip demolition, debris removal and re-plastering entirely. For a complete 6 m² bathroom with floor and all walls (around 26 m² of surface), the numbers look like this:
| Cost item | Microcement over tiles | Demolish + microcement | Demolish + new tiles |
|---|---|---|---|
| Demolition and debris removal | €0 | €650 – €1,150 | €650 – €1,150 |
| Re-levelling walls / repairing screed | €0 | €600 – €1,050 | €600 – €1,050 |
| Preparing tiles (degrease, fill joints, primer, mesh) | €450 – €800 | €0 | €0 |
| Finish (microcement incl. sealer / tiles incl. grout) | €3,250 – €5,000 | €3,250 – €5,000 | €4,250 – €6,800 |
| Total | €3,700 – €5,800 | €4,500 – €7,200 | €5,500 – €9,000 |
| Working days | 4 – 5 | 8 – 12 | 10 – 15 |
Working over the tiles saves €800 to €1,400 compared with demolishing first, and more than a week of noise and dust. The saving grows when the bathroom is on an upper floor, which in Amsterdam usually means carrying debris down a steep staircase. The extra build-up is only 3 to 4 mm, so doors almost never need to be shortened, unlike tile-over-tile renovations that add 10 to 15 mm.
It only works if four conditions are met: the tiles are firmly bonded (we tap-test every one), the substrate is dry, the floor does not flex noticeably, and the joint pattern can be bridged. More than roughly 10% hollow-sounding tiles, an active leak, or a plan to move the shower are all reasons to demolish after all. The full checklist, the six steps and the drying times are in our Dutch guide microcement over tegels.
Microcement vs tiles vs beton ciré vs poured floor
All four end up in the same bathroom conversations. These are the real differences:
| Microcement | Beton ciré | Poured floor (PU) | Tiles | |
|---|---|---|---|---|
| Look | Sleek, softly clouded, modern | Artisanal, more movement and texture | Uniform, flowing | Depends on the tile |
| Where it works | Walls + floor + furniture | Walls + floor | Floor only | Walls + floor |
| Build-up | 2 – 4 mm | 2 – 3 mm | 2 – 4 mm | 8 – 15 mm |
| Over existing tiles | Yes | Yes | Yes (floor) | Sometimes (tile over tile) |
| Shower floor without tray | Yes | We usually advise against it | Yes | Yes |
| Price per m² (new substrate) | €90 – €150 | €120 – €170 | €130 – €180 | €70 – €150 |
| Grout lines | None | None | None | Yes |
Is microcement cheaper than tiling? Per square metre of finish, not necessarily: mid-range tiling is in the same bracket. The real saving comes from not demolishing, as the table above shows. In a newly built shell where nothing needs removing, good tiles and good microcement cost roughly the same, and the choice comes down to look and maintenance. If you are torn between the seamless options, our Dutch guides on beton ciré and the poured bathroom floor go into each material in depth.
Pros and cons: the honest version
What microcement does better
No grout, no grid. No joints where mould and limescale settle, and no grid that visually chops up a small room. In a 4 m² Amsterdam bathroom this is often the biggest win. No demolition. Four to five working days instead of two to three weeks, and you can usually keep using the toilet. One material everywhere. Walls, floor, shower, bath panel and vanity top in one continuous finish. Thin. 3 to 4 mm, so no problems with door clearances, thresholds or a floor drain that suddenly sits too low.
The downsides you should know about
It is craftsmanship. The clouded pattern is created by hand. Badly applied microcement, with visible trowel marks or patchy sealer, can hardly be corrected without starting over. Always ask to see recent projects. The sealer is the waterproofing. In the shower zone the top coat needs checking every 5 to 8 years and refreshing where needed. That is half a day of work, not a renovation, but it is part of the deal. More scratch-sensitive than glazed tiles. Sand under your feet or a dropped bottle leaves a mark sooner. Local repairs are possible but stay faintly visible on glossy sealers, which is why we recommend matt. Limescale shows on dark colours. A 30-second squeegee after showering keeps it clean; if that sounds like too much, consider tiles in the shower and microcement elsewhere. Hairline cracks on moving substrates. On stable concrete with mesh the risk is small, but wooden floors that flex need assessing first, and sometimes a different finish.
If you want to see these downsides costed out, with what prevention and repair cost over 20 years, our Dutch article on the disadvantages of beton ciré applies largely to microcement as well.
Apartments, VvE, rentals and canal houses
Most of our English-speaking clients live in apartments, and that raises a few practical questions that international guides never answer.
Do you need VvE permission? Applying a finish inside your own apartment is usually your own business. Check your VvE's house rules (huishoudelijk reglement) anyway: some buildings have rules on floor finishes because of contact noise, and any work that touches shared drainage or standpipes typically needs approval. Microcement over existing floor tiles barely changes the acoustic situation, which is an advantage over replacing the floor build-up. We provide a written work description if your VvE asks for one.
Renting? Under Dutch tenancy law you may make changes that are easy to undo without your landlord's consent; anything that is not easily reversible needs permission. A coating over the tiles falls in the second category, so get written approval first, and agree whether it stays when you leave.
Canal houses and wooden floors. Timber floors flex, and flexing is what cracks thin finishes. On walls in canal houses microcement usually works well. On a wooden floor we first assess the structure and often add a stiffening or decoupling layer, or advise a poured PU floor or tiles on a decoupling membrane instead. Our article on small bathroom renovation in Amsterdam covers what else is different in historic homes.
Monuments. An interior coating rarely conflicts with monument status, but it is good practice to keep the work reversible and documented. Microcement over existing tiles actually preserves what is underneath.

How the work is done, day by day
| Day | Work |
|---|---|
| Day 1 | Inspection and tap test, remove accessories and fittings where needed, degrease, sand the glaze, primer |
| Day 2 | First base coat with reinforcing mesh, drying, second base coat |
| Day 3 | Two coloured finishing coats: this is where the pattern is created |
| Day 4 | Light sanding, first sealer coat |
| Day 5 | Second sealer coat, refit sanitary ware and accessories, handover |
You can walk on the floor right after handover. We advise waiting 5 to 7 days before using the shower so the sealer can cure completely. Planning, quote and daily updates are available in English, and you receive physical colour samples with your chosen sealer beforehand, because the sealer slightly changes the final shade. Popular bathroom colours with our clients are warm grey, greige, sand and off-white: shades that hold light and stay calm under both warm and cool lighting.
Maintenance and lifespan
Daily: a squeegee over the wet zones. Weekly: clean with a pH-neutral soap. Avoid bleach, scouring products and vinegar, as they attack the sealer. Every few years, treat the shower zone with a maintenance wax or have the sealer refreshed; budget roughly €15 to €25 per m² for a professional reseal of the wet zone, with a minimum call-out rate. With that routine, a well-applied microcement bathroom lasts 15 to 20 years.
Can you do it yourself?
On a dry wall in a guest toilet: yes, if you are handy and patient, and DIY kits from Dutch webshops start at roughly €30 to €60 per m² in materials. In a shower or on a floor we advise against it. The waterproofing details around the drain, corners and taps, and getting an even, unpatchy sealer, are exactly where DIY projects fail, and a failed microcement shower usually means sanding everything off and starting again. Compared to a professional finish the material saving is real, but the risk sits precisely in the part that keeps water out of your walls.
Frequently asked questions
Is microcement good for a bathroom?
Yes, provided it is applied as a full system: primer, mesh-reinforced base coats, finishing coats and a two-component sealer. The sealer makes it waterproof, including in a walk-in shower. It suits people who like a seamless look and do not mind a squeegee after showering.
How much does a microcement bathroom cost in the Netherlands?
Expect €90 – €130 per m² for walls and €110 – €150 per m² for floors on a new substrate, or €105 – €230 per m² over existing tiles depending on the zone. A complete 6 m² bathroom over existing tiles costs €3,700 – €5,800 all-in, excluding new sanitary ware.
Is microcement cheaper than tiling?
Per m² of finish it is in the same range as mid-range tiling. The saving comes from skipping demolition: microcement over existing tiles is typically €800 – €1,400 cheaper than demolishing first, and takes 4 – 5 days instead of 10 – 15.
What are the downsides of microcement?
It depends heavily on the applicator's skill, the sealer in the shower needs checking every 5 – 8 years, it scratches more easily than glazed tiles, limescale shows on dark colours, and it is not suitable for floors that flex.
How long does microcement last in a shower?
15 to 20 years when it is applied correctly and the sealer in the wet zone is refreshed every 5 – 8 years. Daily squeegeeing and pH-neutral cleaning products make the biggest difference.
Can microcement be applied over existing tiles?
Yes, if the tiles are firmly bonded, the substrate is dry and the floor does not flex. The glaze is sanded, primed and the joints are bridged with a mesh-reinforced base coat, so the old tile grid does not show through. The total build-up is only 3 – 4 mm.
Do I need VvE or landlord permission?
Inside your own apartment usually not from the VvE, unless house rules cover floor finishes or the work touches shared pipes. As a tenant you need written landlord consent, because a coating over tiles is not easily reversible.
How long does it take, and when can I shower again?
A complete bathroom takes 4 to 6 working days. The floor is walkable right after handover; wait 5 to 7 days before using the shower so the sealer can cure fully.
Thinking about a microcement bathroom?
Request a free inspection and a fixed all-in quote, in English.
Request a free quote